
How to Use Your CladMate
CladMate is designed for efficient and easy use. Check out our tips below on how to maximise your experience!
Check All Bolts and Nuts Are Tight

Remove the CladMates from the plastic packaging. If any nuts or bolts appear loose, tighten them securely before use.

Leaving nuts or bolts loose may prevent your CladMate from holding the weatherboards securely or cause it to slip during use.

Ensure the Handle Is Tight
The handle should feel firm before use. If it feels loose, tighten the bolt securely.
Leaving the handle loose may prevent the CladMate from applying enough pressure to hold the weatherboard securely.
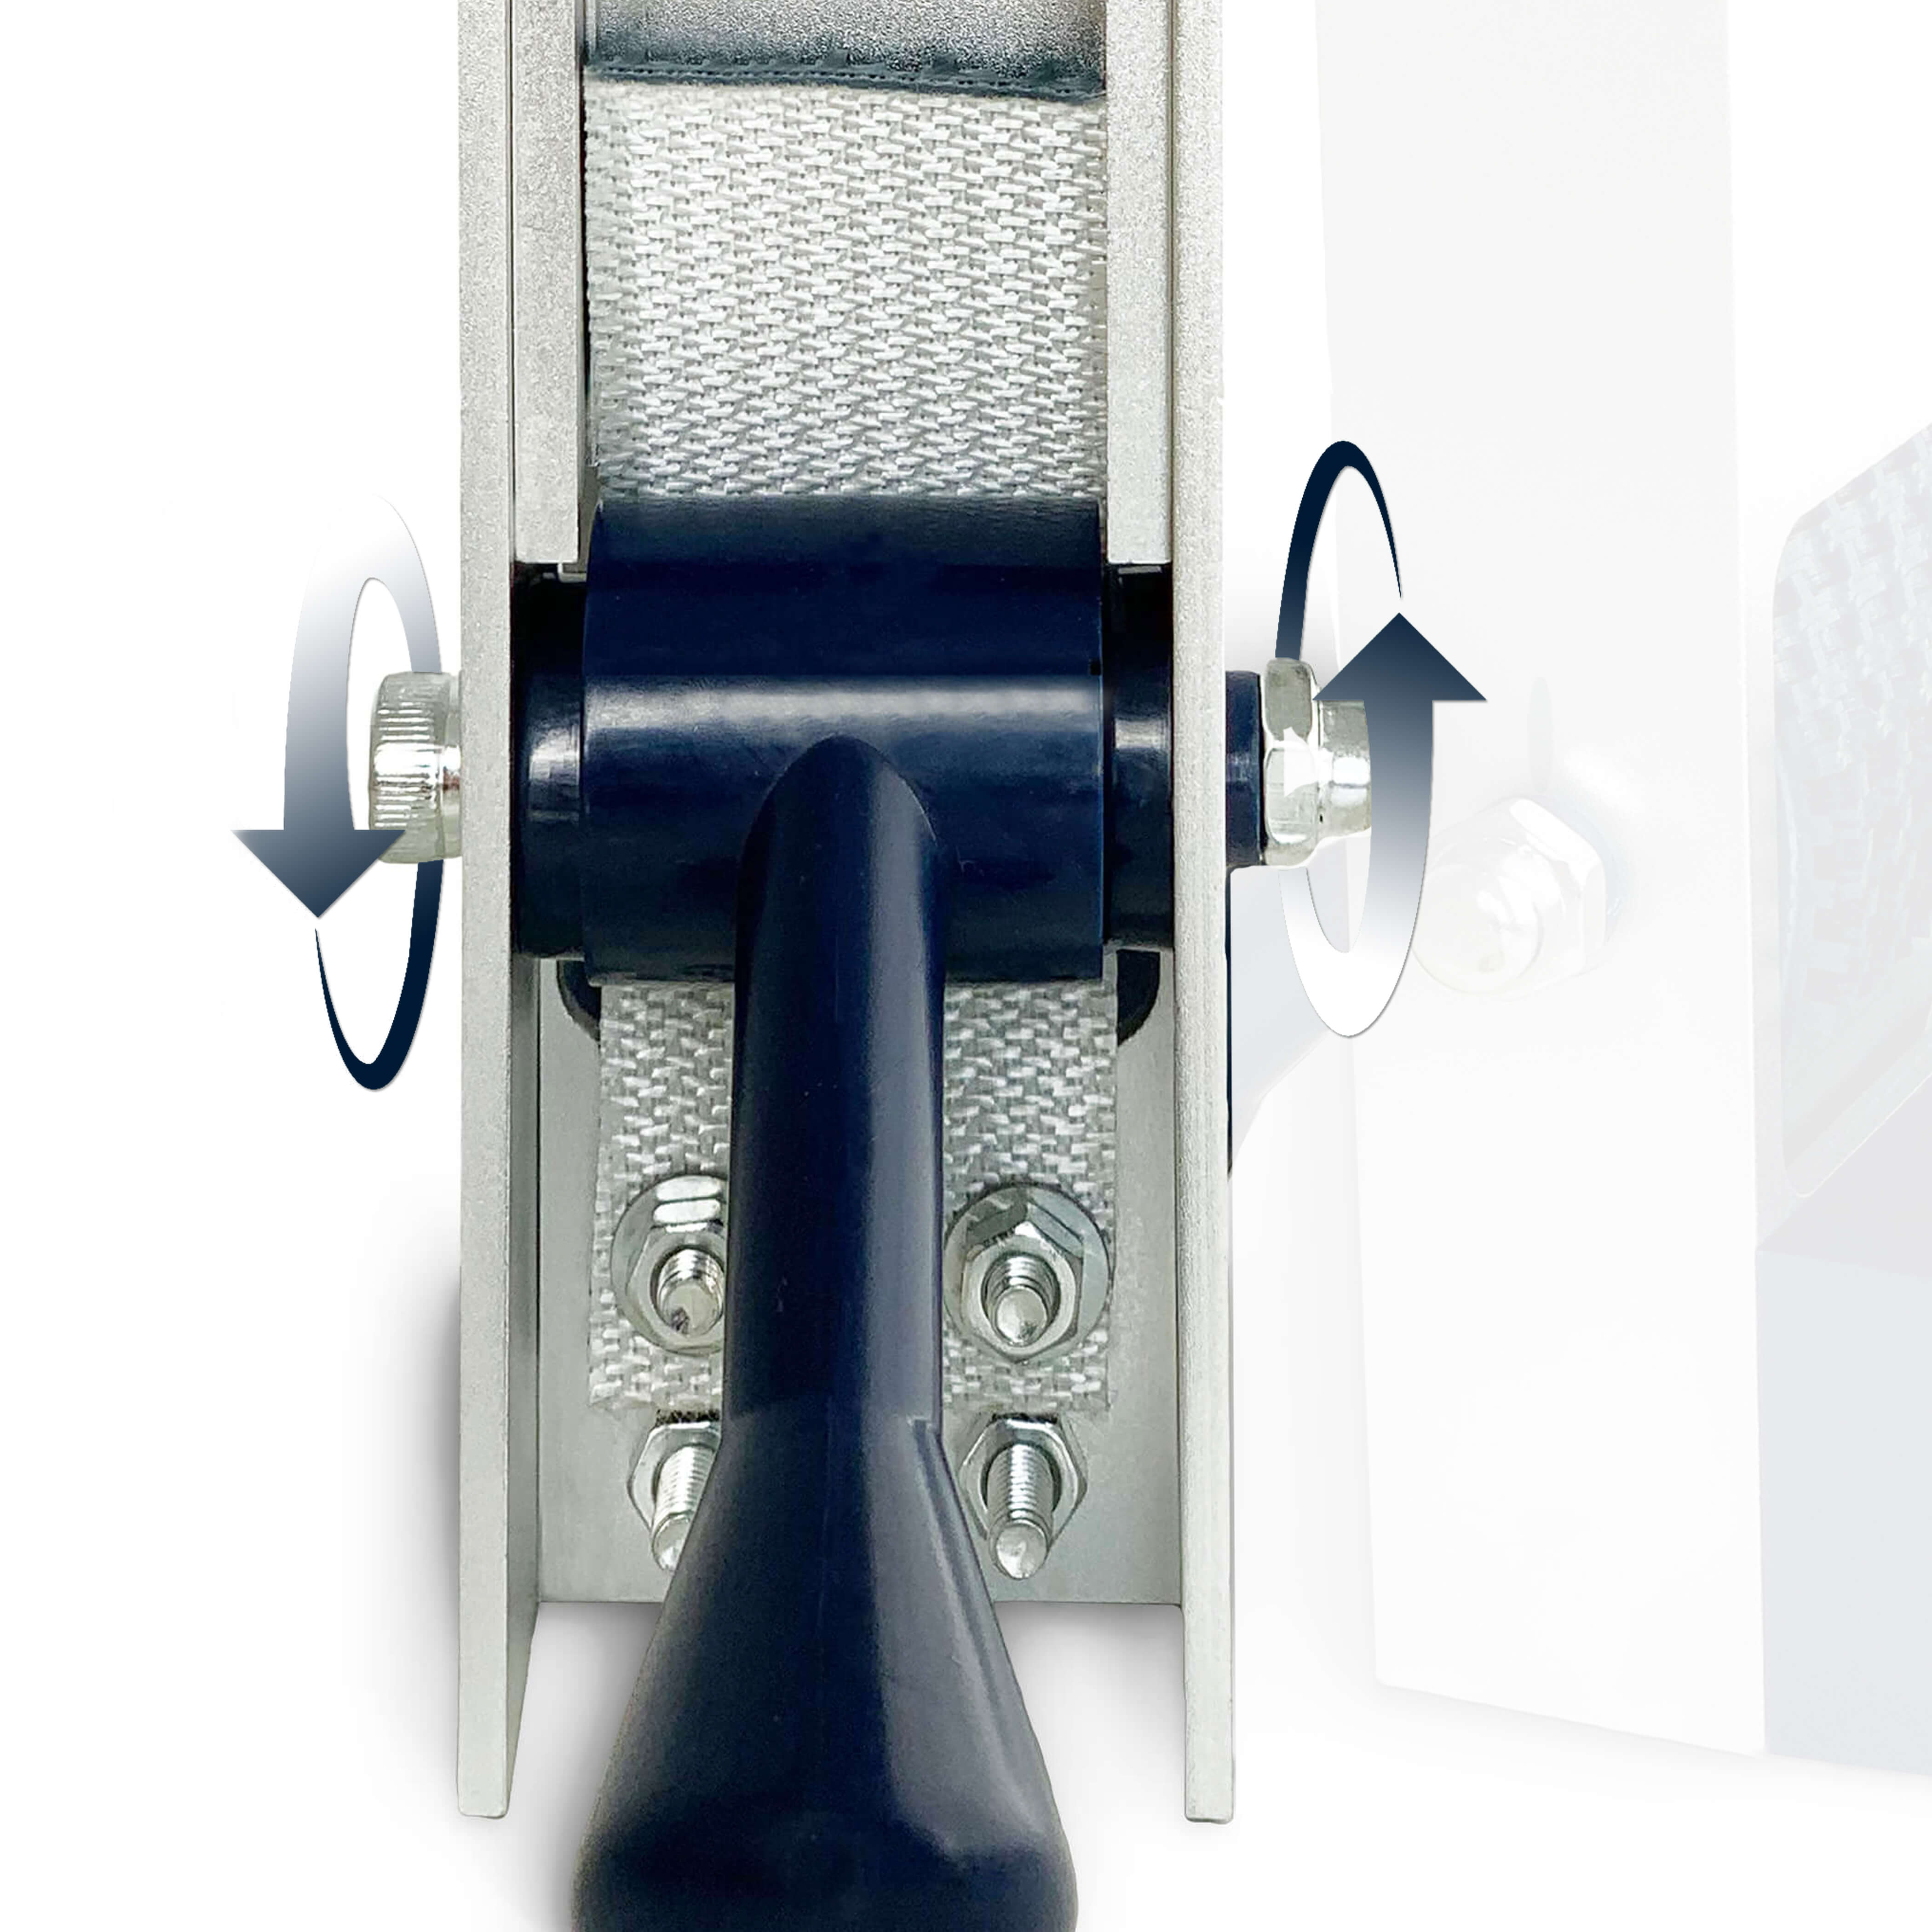
Set Your Preferred Cover
Slide the top of the CladMate or CladMate Pro to your preferred cover setting. CladMate has settings for 120mm and 150mm cover, while CladMate Pro adjusts by the millimetre from 100mm to 175mm.
An inaccurate cover setting may result in inconsistent weatherboard spacing as you work up the wall.

Tighten the Side Lever on Your CladMate
After setting the cover and before inserting the CladMate, fully tighten the side lever so it is firmly locked in place.
Do not leave the side lever loose, as the CladMate may slip downward while positioning the weatherboards.

Insert
Slide the CladMate carefully under the weatherboard.
Do not slide the CladMate aggressively, as this may scratch the board.

Ensure the CladMate Is Fully Inserted
After inserting the CladMate, check that the weatherboard is touching the top of the blue spacer.
If the CladMate is not fully inserted, the cover measurement may be inaccurate.

Engage
Once inserted, engage the handle upward. The handle should not be engaged past the 2 o’clock position.
Do not force the handle past 2 o’clock. If the handle feels loose, tighten the bolt that secures it before continuing.

Never Overtighten the Handle
There should be no need to engage the handle to its maximum position. If this occurs, stop and tighten the bolt that secures the handle. The handle may be over-engaged if the CladMate begins pulling excessively away from the weatherboard.
In most cases, the handle should not be engaged past the 2 o’clock position.

Set
Carefully lower the weatherboard onto the CladMates’ blue ledges.
Do not slam the weatherboard onto the CladMates, as this may cause them to slip downward.

Nail
Nail the weatherboard in accordance with the manufacturer’s recommendations.
If the CladMates are difficult to remove, do not nail into the stud directly above them. Remove the CladMates first, then complete the nailing where they were positioned.

Remove the CladMates Clockwise or Counterclockwise
Remove each CladMate by turning it sideways, either clockwise or counterclockwise. Repeat the process of inserting, engaging, setting and nailing as you work toward the top of the wall.
Do not pull the CladMates straight downward or outward. This may make them difficult to remove and could loosen the weatherboard.
